Map Markers
Site Maps can be marked-up to indicate the positions of Locations. Each Location within a site can be represented once on each uploaded Site Map.
Each marker's label, when clicked, will navigate to the page of the Location which it represents. When hovering over a marker's pin, a pop-up will appear which will show some details about the Location.
Add Map Markers
Permissions
Your project role must have the permission enabled in order to perform this operation.
Map Markers must be initially added from the Site detail page.
- Navigate to your project's Sites page:
- In the sidebar navigation, select your project
- Click on
- Navigate to the Deploy homepage
- Click on the button for your project
- Pick a specific site from the Sites card , and navigate to its detail page by clicking on its name
- In the Maps card , look to see if any maps exist already
- If no maps exist yet, you can upload a map by:
- Clicking the button in the top right corner
- Click the button in the Site Maps area of the form to add a new line
- Write a text description of the map (i.e.: "1st Floor")
- Click on the Browse button and select the file you want to upload. Supported file formats are JPEG and PNG
- If no maps exist yet, you can upload a map by:
- Find the map where you want to add markers and click on it to open a modal window
Note
Map Markers can only be added to "image" type maps. File formats like JPEG, JPG, and PNG are supported for this. Map Markers cannot be added to PDF maps.
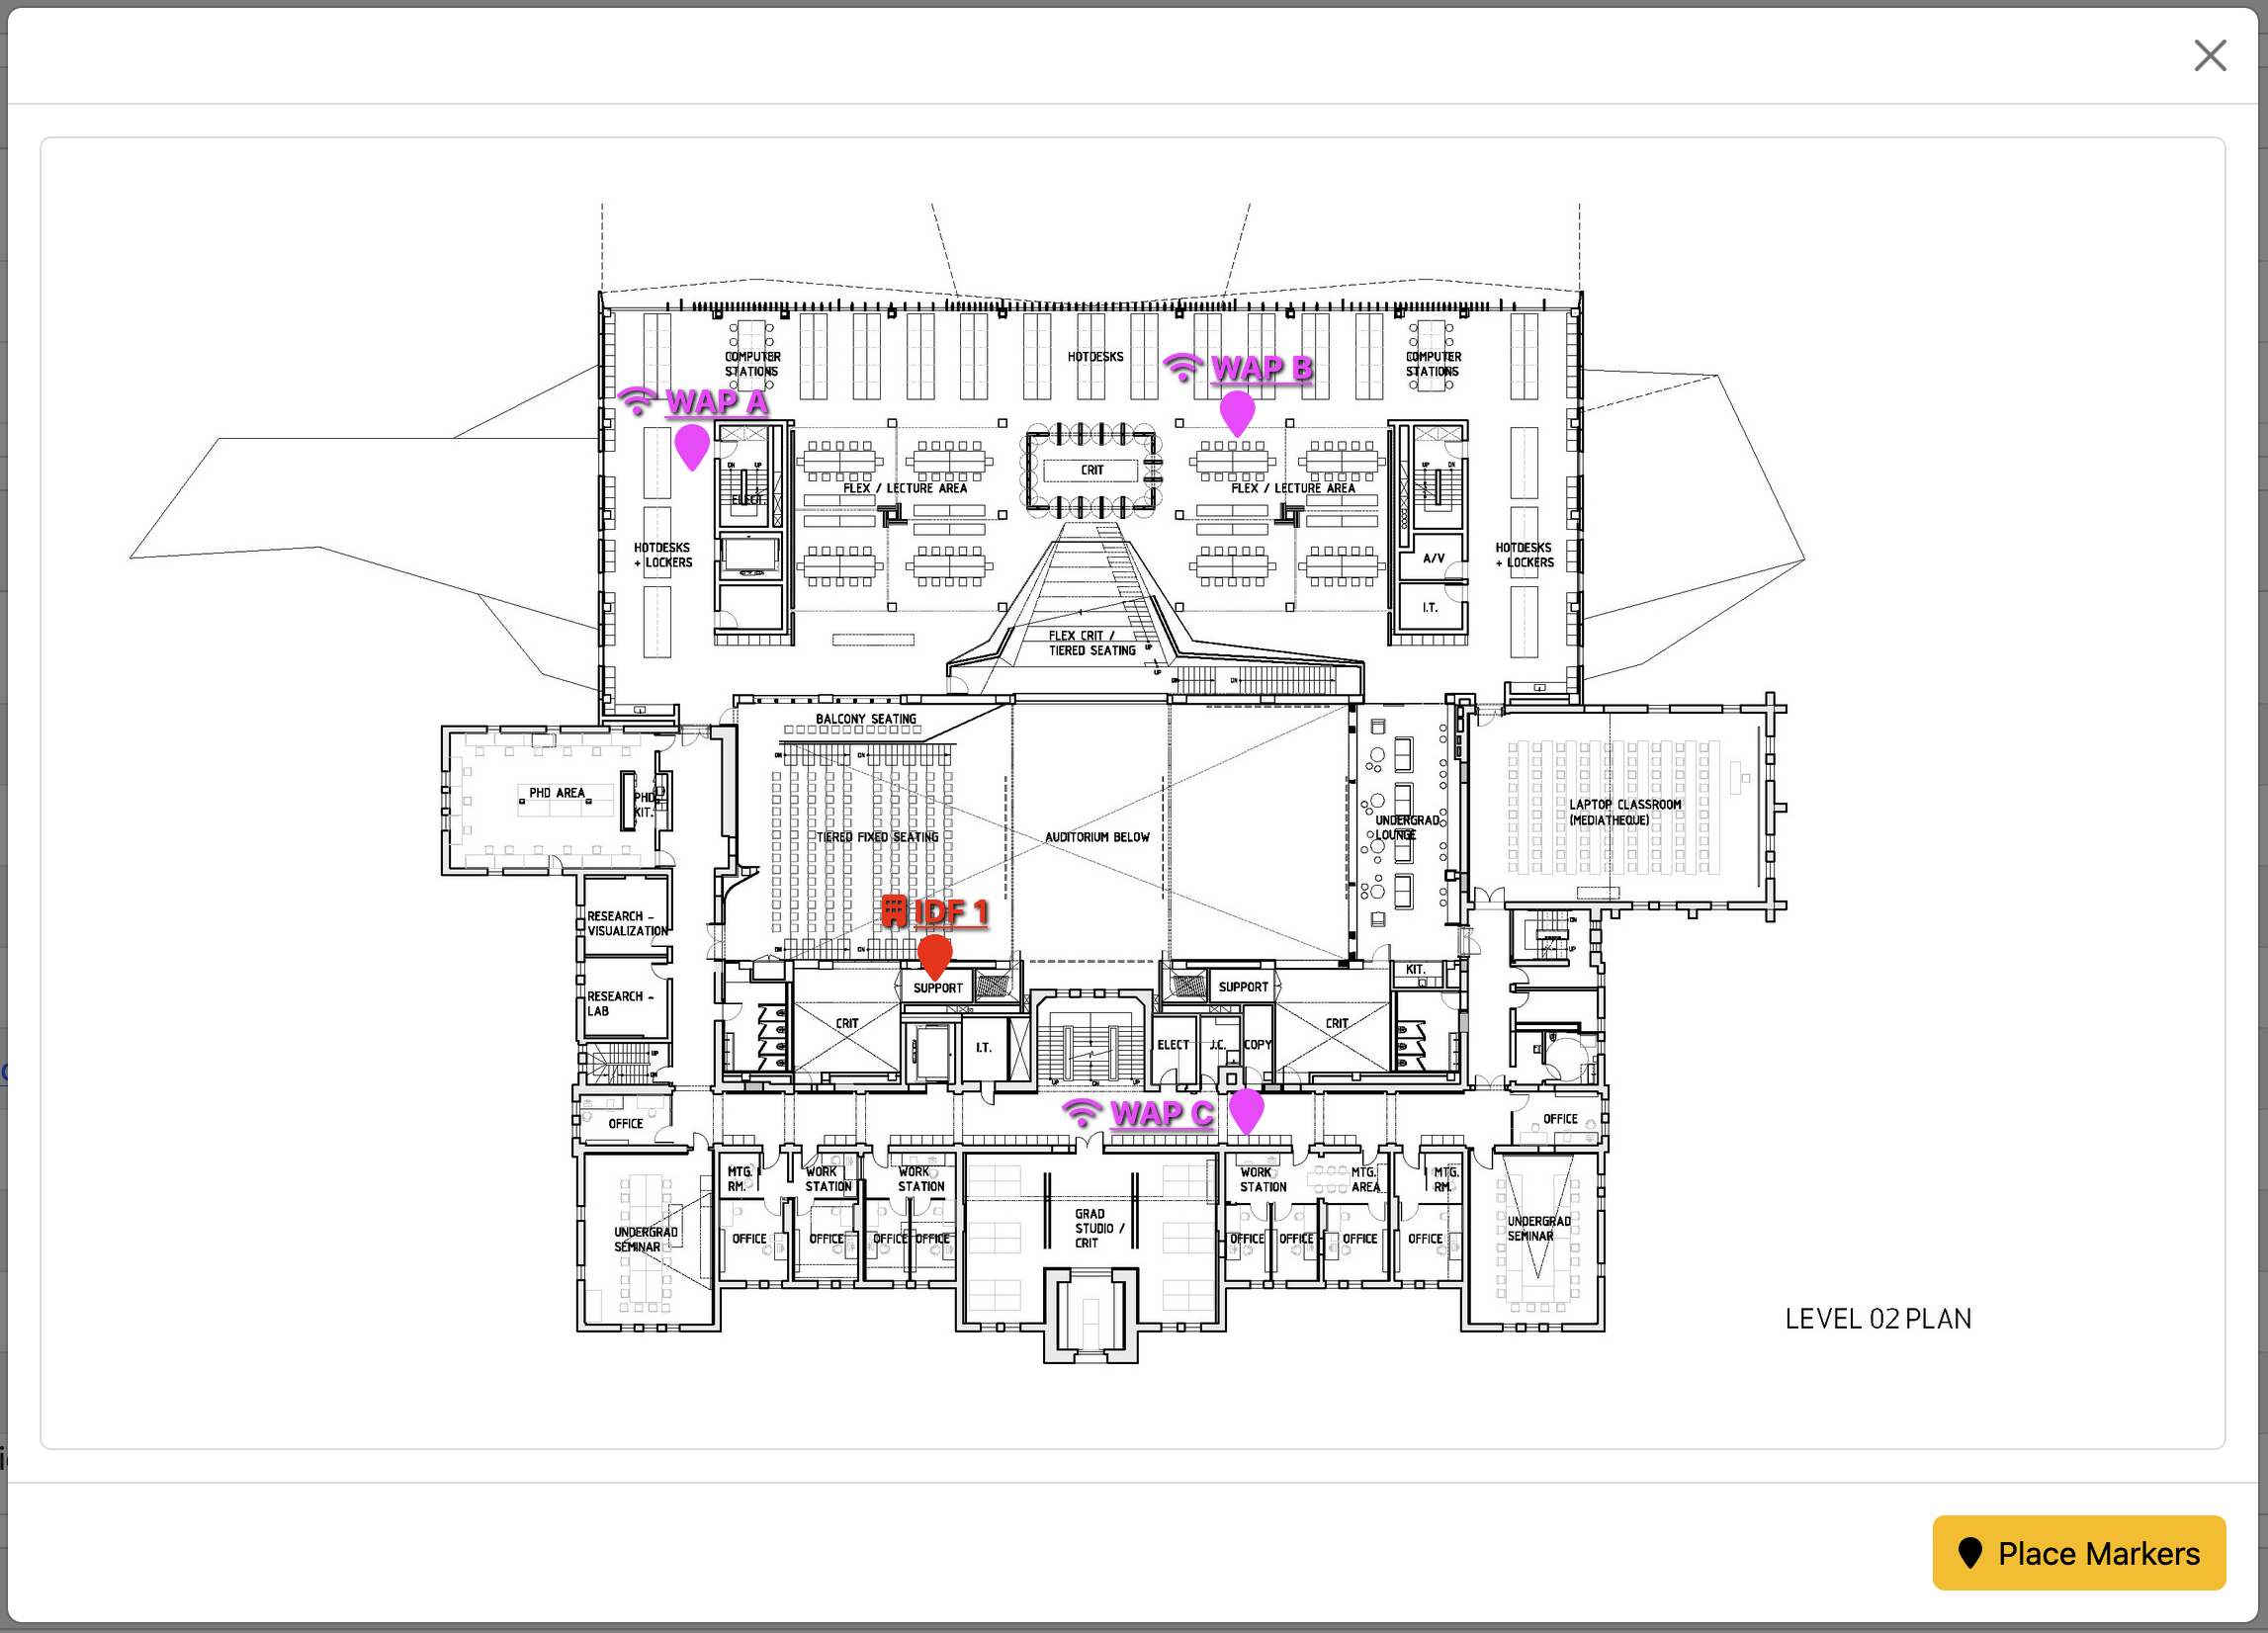
- Click on the button to enter the marker edit mode. Edit mode will look like the below example:

- Click on the drop down field which says Choose a location and pick a Location to add to the map
- Drag the marker to the proper position on the map to indicate where it is located
- If desired, select the marker and change the color and/or the text alignment using the control buttons on the bottom of the modal window
- Add more markers for other Locations to the map as desired
- Once done editing, click the button to save your markers
- Check the alert at the top of the modal to see how many markers were added/updated
- Try hovering over the markers to view Location details
- Click on the Location names on the markers to navigate to their Location detail pages
Map Markers in Location Pages
Once a Location has been added to a map with a marker, the map will begin displaying on that Location's page (on the Details card , in the Maps section).
From a Location's page, you can open up and view all the maps with that Location referenced. Markers can be edited and deleted from this view, but they cannot be added. Markers can only be added from the Site view page.
Note
When viewing the markers from a Location's page, the current Location's marker will appear opaque while markers on the same map for other locations will appear transparent. This helps the current location stand out on the map.
Updating and Deleting Map Markers
Markers can be changed and deleted using a similar process as adding them.
Once the modal window for a map is opened:
- Click on the button (or button in the Location view) to enter the marker edit mode
- Click on the marker you want to edit to select it
- Use the text alignment, color, and delete control buttons to make changes to the marker
- Drag the marker to a new position on the map as desired
- Once done editing, click the button to save your markers